This is my favorite Latin study-aid of them all, so we will begin this series with it today. And actually, I already have an example of a “mind map” or “idea map” on this blog, explaining jobs the endings of Latin verbs do. (It’s here if you want to see it.)
An idea map is an extremely useful tool for both understanding and memorizing information. (And more: I also use it for creative endeavors, like brainstorming blog posts and planning family celebrations, because it is an extremely versatile tool as well!) Anyway, what makes idea-mapping so very wonderful is the way it leads people to interact with the material they are working on, forcing them to actively relate dozens of ideas while arranging them in sequence around a central idea. When done, information is presented in a visually engaging and memorable manner: like colorful rays around the sun.
Idea-Mapping Step-by-Step
Ready to see an example of how it’s done? Here’s an example of using idea-mapping on Lesson 1 from Fr. Most’s Latin by the Natural Method, Vol. I (and for more about that great book, see this post).
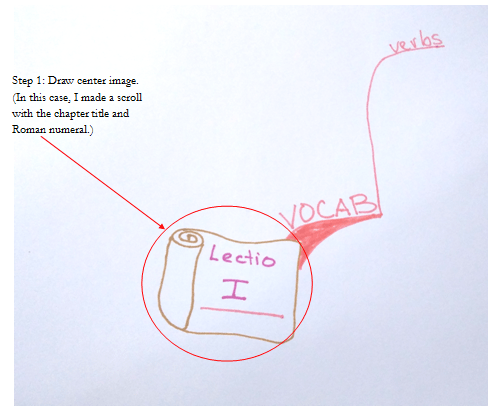
Step 1: Center Image. Turn your sheet of paper so that the longer sides are at the top and bottom (i.e., landscape orientation). Using colored pens or markers or colored pencils, draw an image in the center of the page that sums up the topic of the idea map you’re creating. In other words, what’s it all about? In this case, it’s Lesson 1 Lectio Prima. I used a scroll with the title inside as my central image. Use several different colors for the central image, to make it interesting and therefore more memorable.

Step 2: First ray. Your first topic goes on a big thick ray; pick any color you like to make it and then write the words above it in the same color, all in CAPITAL letters. Write your words so that they always end at the very edge of the ray. (This keeps your diagram neater and more attractive!)
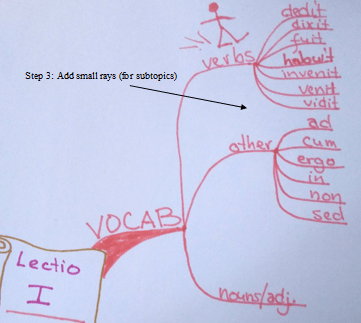
Step 3: Adding smaller rays. Once you have a topic, write smaller rays that are related, ideas that branch off from it. And these rays will lead to other rays: just keep drawing branching rays as long as you have related ideas. These smaller rays are the same color as the main one, and the words are now in lower case.

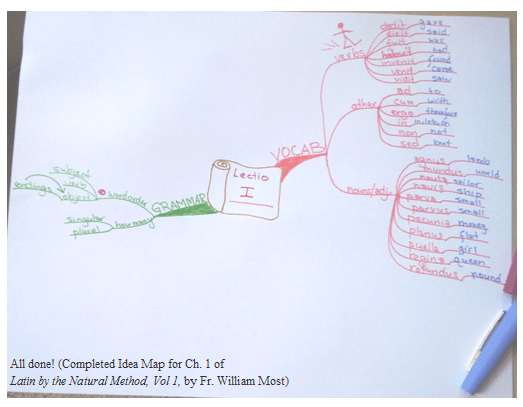
Step 4: Expand your Idea Map with more large and small rays. (In my example, Lectio I has two important sections to remember, the vocabulary list and the grammar rules.) As you practice with idea-mapping, try adding symbols and drawings. I put walking stick-man legs over “verbs” to show an action, since verbs are action words, and used an arrow and a circle-slash “not” symbol in the grammar section. Drawings and symbols cut down on word clutter and are more fun to look at and easier to remember.
DONE! Now it can be hole-punched for a study notebook or kept in a folder for review.
You should be sure to give Idea-Mapping a try for use on grammar lessons, paradigm drills, vocabulary lists, test preparation and review, anything you use a pen and paper for! It will be lots more fun, encode the material deeper into your memory, and allow you to retrieve it from your memory faster. No wonder this is my favorite Latin study tool!

Leave a comment